First, begin by finding an image. Once you found and saved your image, open it in photoshop. From there, unlock your layer and duplicate.
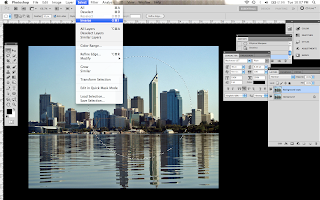
Next, select your elliptical marquee tool (M) and hold down shift to keep it in a perfect circle. Selection is an important part of getting the right effect. The middle is also going to be the important part since most of the distortion is at the edges.

Now that you have your piece selected go to Select>Inverse (Shift+Ctrl+I).
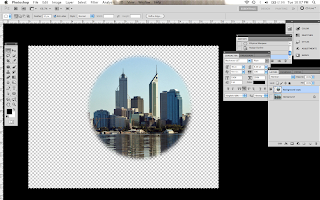
Then Delete
Then Select>Inverse again before deselecting, crop your image (Image>Crop)


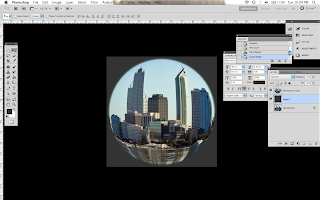
After cropping your image, go to Filter>Distort>Spherize. From there make sure the settings are at 100% and normal.


http://tutbase.com/tutorial/toolbar/photoshop/182/index.html
ReplyDelete